One image
Upload a PNG or JPG up to 8 MB. The object should be clearly visible and not obscured by other items.
Upload one image or multiple views, choose a model, and set the level of detail. View the finished result in a 3D scene, add a rig or animation, and export it in a suitable format.
amiodel beta·3D.Hunyuan 3.1·Tripo H3.1·Meshy 7.1
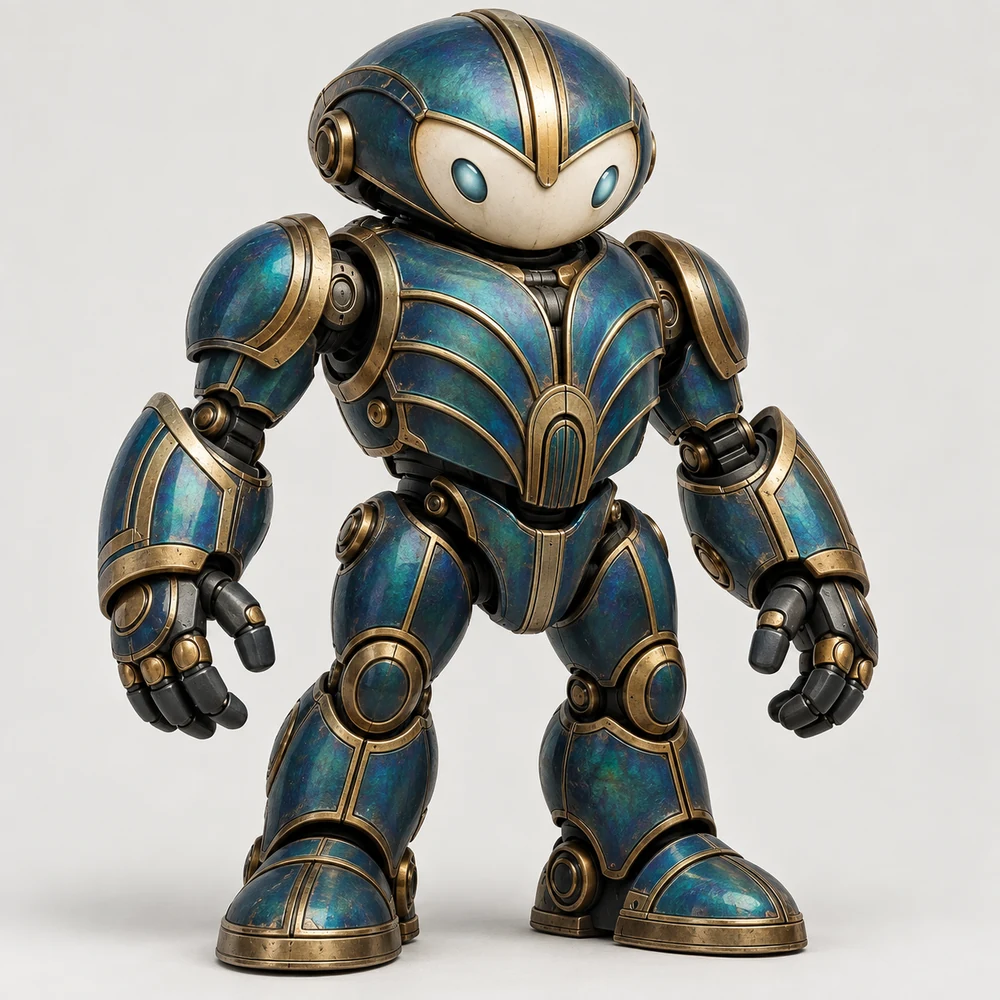
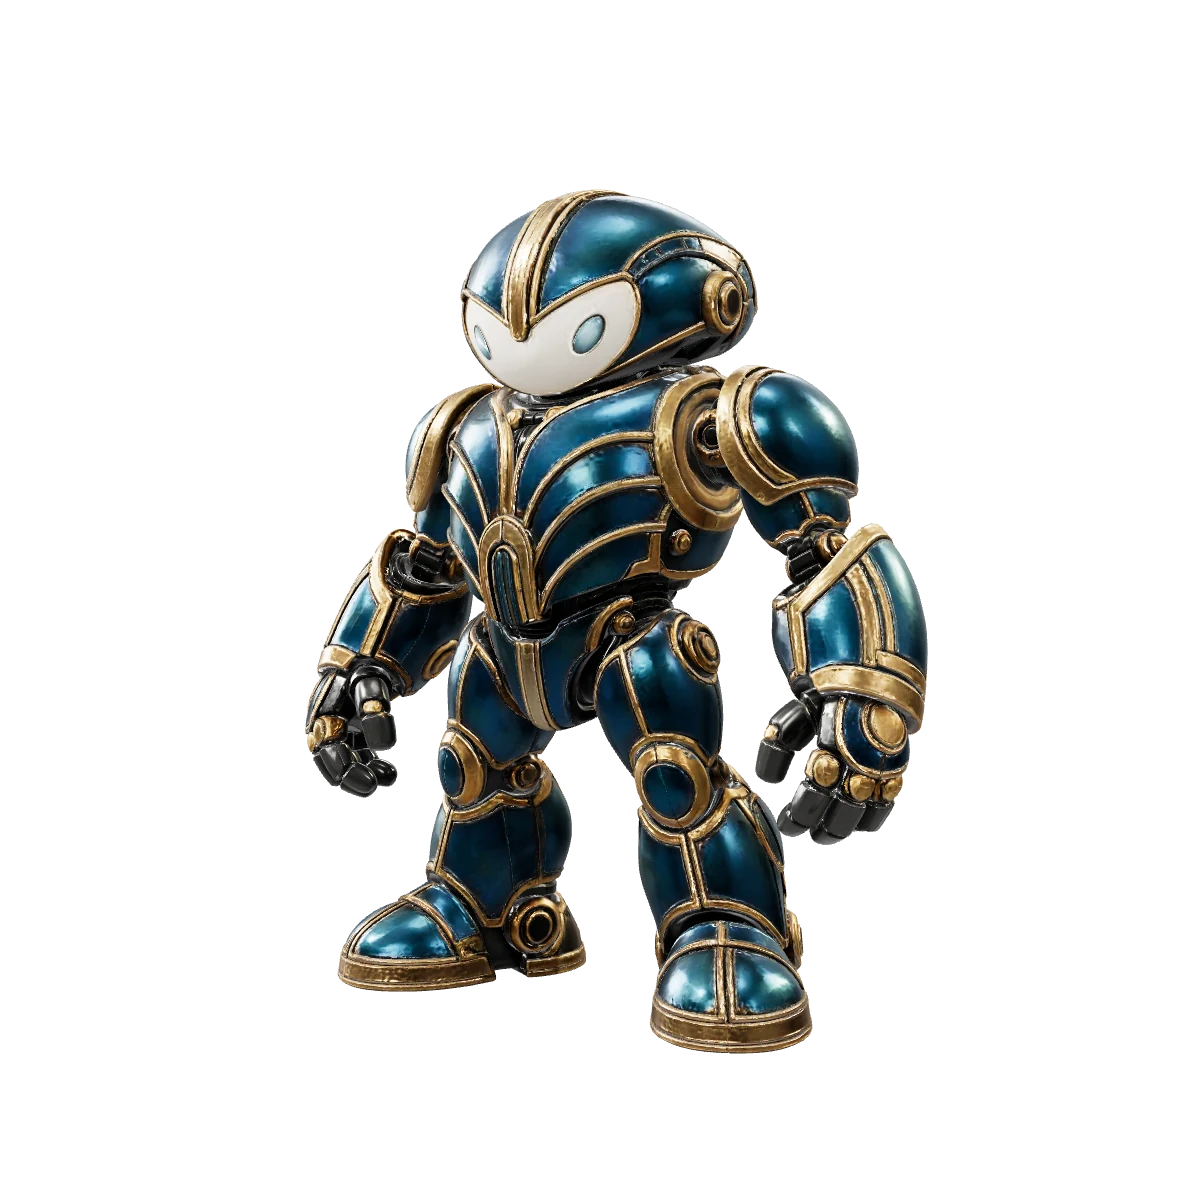
One image is enough to get started. If you have photos of the object from several sides, add the views supported by the selected model.
Upload a PNG or JPG up to 8 MB. The object should be clearly visible and not obscured by other items.
Before generation starts, Studio shows the available positions and required views for the selected model.
Choose one image or prepare multiple views of the object.
Choose a generation model, set the parameters, and check the calculated cost.
Studio shows the operation status and actual elapsed time.
The finished version appears in Assets and opens in the 3D scene.
All models are available in the Create tab. Parameters and the calculated operation cost are shown before launch.
Open StudioThe result stays in the same Studio—from viewing to exporting the selected version.
Generate geometry and materials.
Inspect the model in the 3D scene.
Create a compatible version with a skeleton.
Apply motion to the rigged version.
Download the suitable model version.
Turn an image of a character, item, or object into a volumetric base for viewing and further refinement.
Use the generated model as a source asset that can be reviewed, optimized, and refined for your project requirements.
Review the model, create a compatible rig, and apply a suitable motion in the same Studio.
Export the geometry to STL and check the model’s size and integrity in a slicer before printing.
Open the Create tab, upload a PNG or JPG, and choose the model and parameters. Studio shows the token cost before launch. Once generation finishes, the new version appears in your Assets.
Yes. Single-image mode accepts one image. The model reconstructs sides that are not visible in the photo, so you should review the result in the 3D scene.
They provide information about sides of the object that are missing from a single image. The number, positions, and required views depend on the selected model and are shown in Studio.
The Create tab includes amiodel beta, 3D.Hunyuan 3.1, Tripo H3.1 and Meshy 7.1.
Studio supports GLB, FBX, OBJ, and STL export. Choose a format based on whether you need materials, a skeleton, or animation.
STL export is available, but you must inspect the model in a slicer before printing: check the geometry for integrity and set the required size.
Upload an image, choose a model, and continue working with the result in one Studio.